Preparing yourself for a pet is sometimes more serious than buying an actual pet. If you are a beginner and you don’t have anything you can use for your pet (bowl, food, toys….) you must find out what you need. You have to consider the prices and make a budget so you’ll know how much money you need. My only pet before Frida was a goldfish named Nemo so I literally couldn’t use anything I had at home. My plan was to buy a cage, bowls, toys, a leash (yes we walk around with a leash) and it all cost me about twice more than Frida alone.
TABLE OF CONTENTS
The Cage
The first thing I’ve searched for is a cage. When ferrets are awake (they sleep most of the day and night) and you can’t let them out of the cage, they need to have some room in it. Today there are cages made especially for ferrets, so you don’t have to worry if you will pick the wrong one. Basic minimum dimensions are 80x50x60 cm. It would be great if the cage has removable platforms that you can adjust to different levels. It is a little thing that can make their time spent in the cage more fun. They can jump from one to another platform.
The Hammock
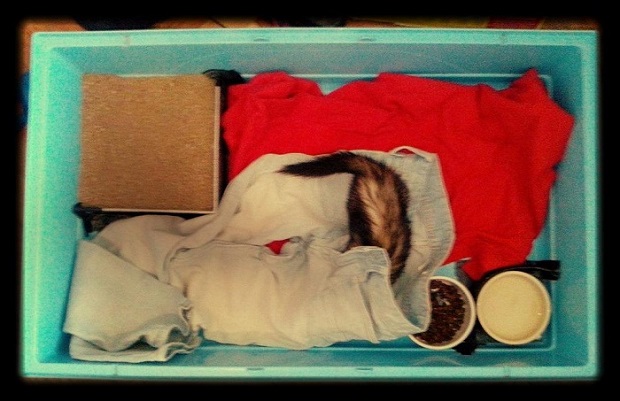
Since ferrets sleep more than 16 hours a day, they need a comfortable bed. What is more comfortable for sleeping than a hammock? Ferrets adore hammocks and big piles of sheets or blankets so they can tuck themselves in. There are really great models on the internet, in the shape of a banana, pirate ship, cube, anything you want. My personal favorite is banana. Once, Frida tucks herself in so deep in the sheet I had to find a place where she entered first than take her out. It all lasted about 5 minutes, it was hilarious.
DIY Litter Box
When I bought a cage, I didn’t want to buy a litter box, I wanted to do something on my own, so I made it. What I did is actually pretty simple. For that, you need a cage (of course), a duck tape, a wooden board, a saw, something to measure and that is pretty much everything.
When Frida came, me and my boyfriend have put her in the cage and she had chosen her corner for, well her business. When she did it, we cleaned everything and marked that corner. Then she went to sleep and we started our little project.
Marked corner was a corner for our DIY litter box. So what we did, we measured that corner (it was a square with about 20 cm sides). We took boards and cut them in half to make them 20 cm long and about 8 cm high. Bottom of the cage in that corner you can cover with duck tape, that is something we didn’t do, but it sounds good to me. Anyway, we had two boards 20×8 cm and all we needed to do was join them with the sides of the cage and one to another (duck tape is awesome!) and that is pretty much everything.
Few simple steps and you have your own DIY litter box in the cage. It took us maybe an hour to do all the work, it is a really fast and simple way to make something on your own.











Leave a Reply